 I love party planning, especially one with a theme. If you are planning a party and want to adorn either yourself or your guests with adorable gothic-themed top hats, this is an easy tutorial about how to make your own.
 You will need:
Fabric of your choice
Mini paper plates (two)
Ribbon
Large Cameo
Large paper coffee cup (16 ounce size)
Trim of your choice
Headband-plain
Glue gun
Glue sticks
Begin by turning your cup sideways. Make a mark with the exacto knife approximately 3/4 of the way down.
Cut around the cup.


Place cup onto one of the paper plates to make a template.

Trace.
Cut out.
Squeeze a bead of glue onto the cup rim.
Place onto the circle template you just created.
Press down.
Place the other side of the cup onto the center of your other paper plate. Mark with an exacto on both sides.
Right in the middle of those two dots, mark with the exacto.
Remove the outer rim of the paper plate.
Where you placed the dot, use the exacto to make a cross.

Cross again until you have a asterisk.
Use a firm hand to remove the existing bump on the plate.
Fold upward somewhat like a taco. Set aside.
Place cup onto your fabric.
Mark with exacto.
Locate your mark,
and using it as a guide, cut a strip of fabric large enough to wrap the cup.
Squeeze a bead of glue onto the cup.
Glue fabric onto the cup.
Squeeze glue all over the platePress onto your fabric.
Using your previously cut-out asterisk as a guide, cut and score the fabric.
Fold up and glue down the fabric.
Trim around the plate, and finish gluing the fabric onto it.
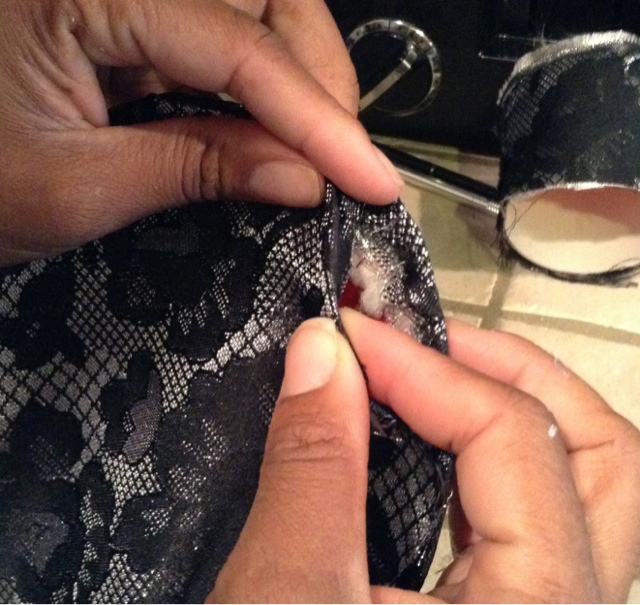
Once it's all glued down and cool, trim the excess.
Use your plate as a template to cut a fabric circle. Make sure it's a little larger than the plate. Squeeze a little glue onto the plate,
Squeeze a bead of glue onto the open side of your cup.
Press onto your fabric circle.
Flip over your hat, and glue each of the three layers down (fabric, cup, fabric) onto the inside of the cup.
Flip your hat on its head and use as a template to cut a fabric circle out.
Trim.
Squeeze glue onto the top of your hat,
Press your fabric onto it.
Flip over and glue down the edges.
Trim excess.
Glue down completely the fabric on the top of your hat.
Now, add trim by gluing it onto the top of your hat. I love this trim, a row of black roses. Fabric and trim, from Walmart.
Glue it all down, but leave a small spot open.
Next add your ribbon. I used a wire ribbon, folded in half.
Remove the cameo from the necklace.
Glue onto the space you left open.
Cut a ribbon of your choice into strips.
Bead glue onto the ribbon.
Strip by strip, glue the ribbon onto the inside of the hat.
Glue down the ribbon on the outside of the hat.
Glue headband onto the bottom of the hat, off-centered.
I glued a small strip of fabric over the headband for extra reinforcement.
All done!
If you enjoy this post, please visit the archives! You may also visit my full profile to view my other blogs. Connect with me on my Facebook Page, Parsimonious Décor Darling. You might like to visit my other blog hubs,
The Marvelous Maison, a lifestyle blog hub and
Frugal Fab Fashionista, my fashion blog hub.
Follow me on Pinterest!! Please be sure to kindly follow the board guidelines, as it takes time and effort to find fabulous pins across the Internet and Pinterest! Thank you!
Thank you for stopping by! ❤


This is so cute and I love the simplicity of the supplies!! THANK YOU!
ReplyDeleteThank you so much Amy! I am glad you liked it. :)
DeleteMy girlfriend is having a Mad Hatter tea party, and I have to make hats for my 3 girls & myself. Your step by step guide makes it look so easy. I can't wait to make ours.
ReplyDeleteSounds like so much fun! Thank you for popping by! Have a blast.
ReplyDeleteI was curious if you ever thought of changing the page layout of your website?
ReplyDeleteIts very well written; I love what youve got to say.
But maybe you could a little more in the way of content so people could connect with it
better. Youve got an awful lot of text for only having one or 2 images.
Maybe you could space it out better?
Also visit my blog ... lasertest
Awesome, I'll try to do mine using your guide, very well explained step by step! :)
ReplyDeleteThank you so much for dropping by!
DeleteHavin rad this I thought it was extremely informative. I appreciate you taking the time and effort to put this informative
ReplyDeletearticle together. I once again fnd myselff personally spending a lot of time both
reading and leaving comments. Buut so what, it was still worthwhile!