Translate

Thursday, March 16, 2023

Simple Shenanigans Saint Patrick’s Day Wreath


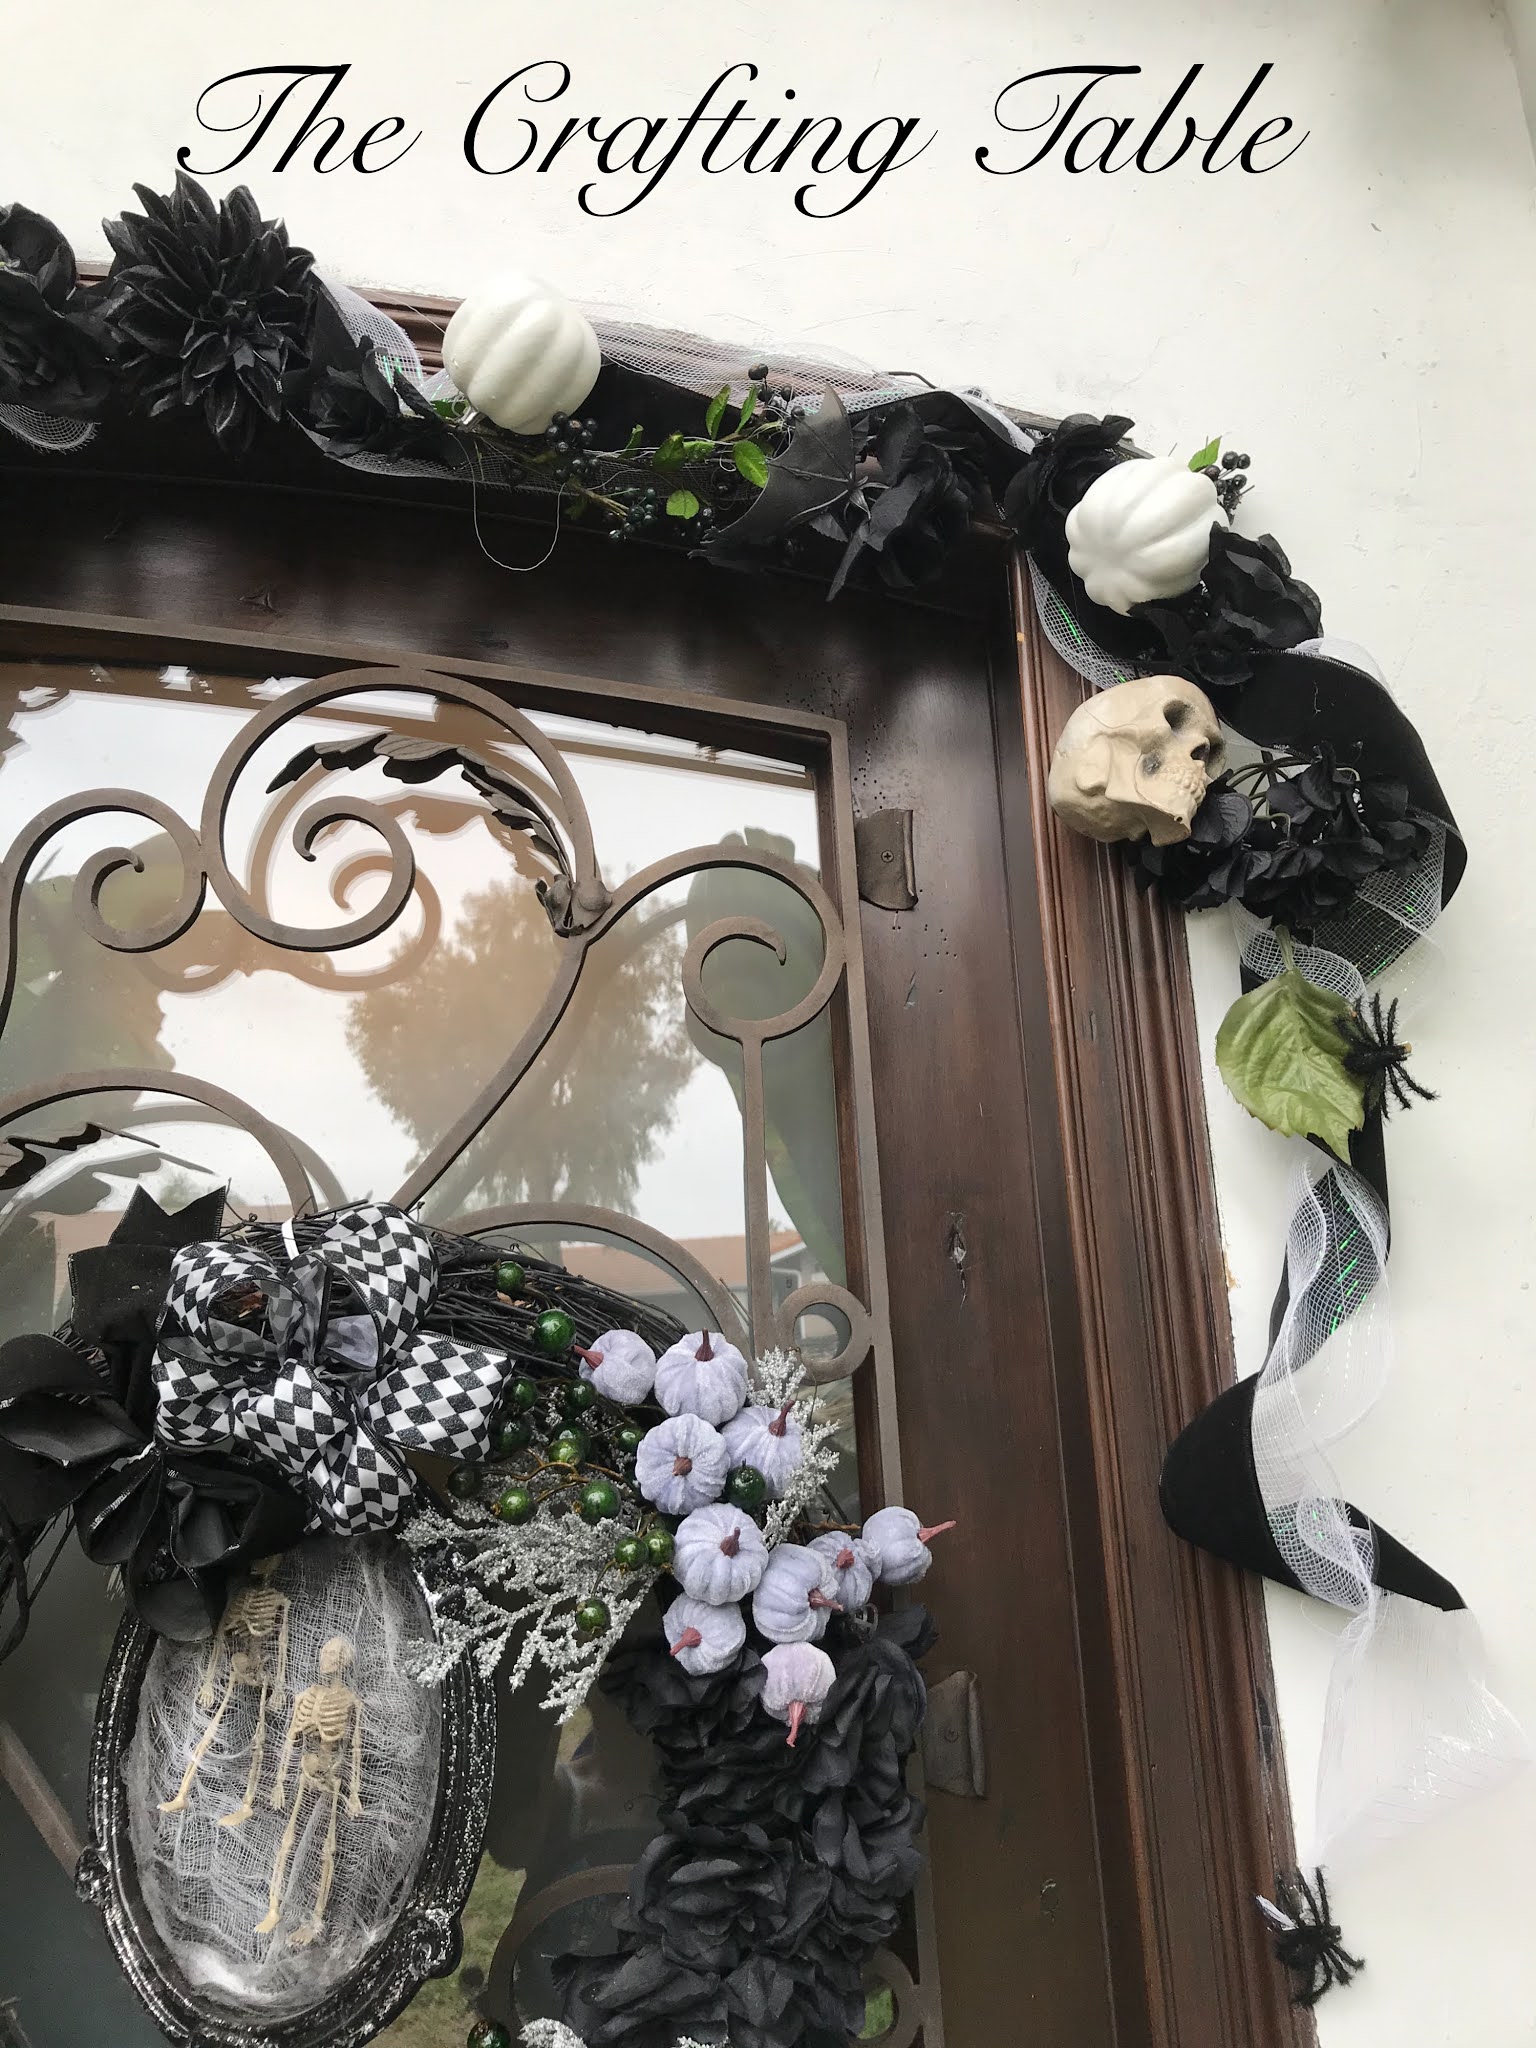
Hello, all!!  Thank you for taking the time to pop in!  


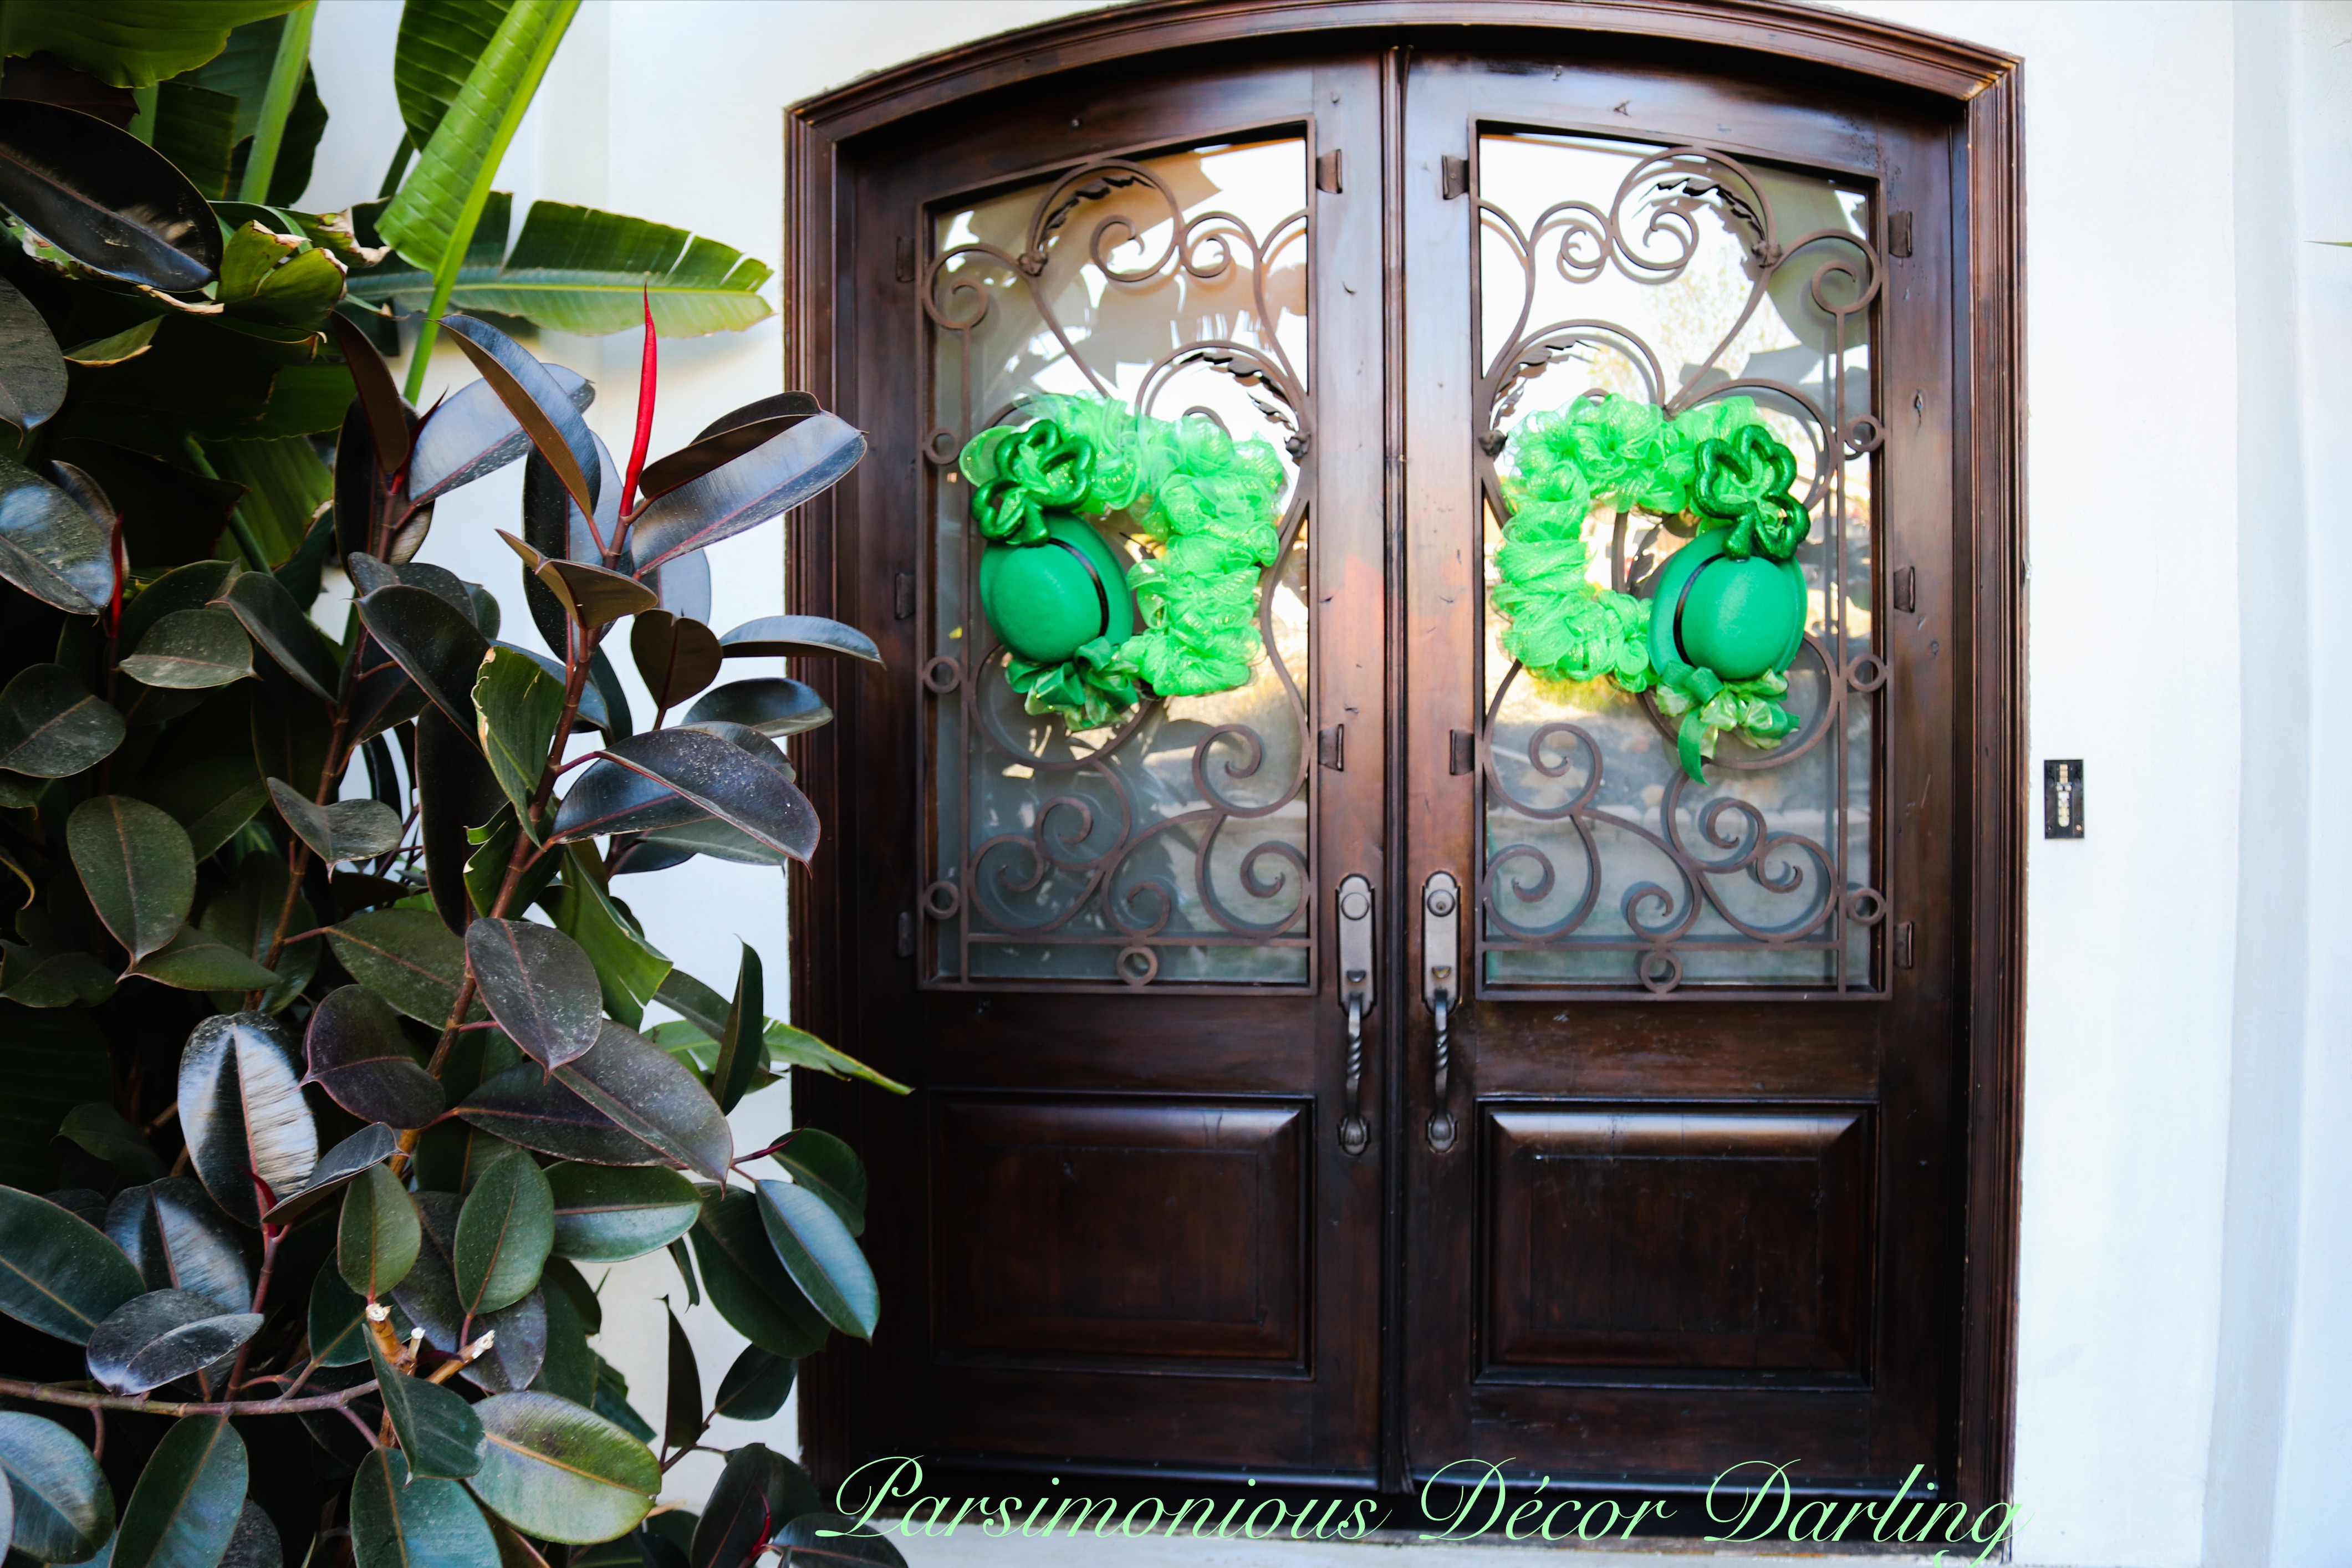
Saint Patrick's Day is such a fun holiday to decorate for!  There is always a plethora of items available at both The Dollar Tree and The 99¢ Store.  I combined items from both to make a fun and festive wreath perfect for Saint Paddy's!!  

To make these, you will need:


From The Dollar Tree:


Mesh


A square wreath form (in my case, I used two, one for each door)


Varying green ribbon


Sparkly foam shamrocks


From The 99¢ Store:

Bowler hats


On hand:

Bread twist-ties


You will also need a hot glue gun and glue sticks.

Begin by rolling out some of the mesh and laying it flat.


Pinch the edge together.


Attach the pinched edge to the wreath form with the twist tie.


Once attached, weave the mesh in and out along the form, fluffing where needed.


After you have covered the entire form, affix the hanging loop of shamrock to the top corner of the form, and affix the hanging loop of the bowler hat to the bottom corner of the form, again using twist-ties.


To make a decorative ribbon, used one sheer and one that is an opaque, narrower canvas ribbon.  Both are wired for easier manipulation.  Lay one ribbon on top of the other.


Tie a bow by making loops and hold them together using a twist-tie.


Pull apart and fluff your loops.


Finally, cut the hanging tails at varying lengths.  Fold each tail in half and cut on the bias to create a dovetail.


Using a hot glue gun, glue the ribbon onto the hat.


Viola!!


If you would like to see these wreaths and how I incorporated them into the rest of my St. Patrick's Day festivities, you may view the post on my other blog Parsimonious Décor Darling here.


Happy Saint Patrick's Day!!


If you enjoy this post, please visit the archives!  You may also visit my full profile to view my other blogs. Connect with me on my Facebook Page, Parsimonious Perfection.   You might like to visit my other blog hubs,

The Marvelous Maison, a lifestyle blog hub and 
Frugal Fab Fashionista, my fashion blog hub. 

Follow me on Pinterest!!

Thank you for stopping by! ❤


Saturday, December 5, 2020

Long-Lasting, Easy Giant Candy Décor

 Hello friends in the bloggersphere and beyond!  


Don’t you just love a great Candyland theme during Christmas?  I know I do!  So.  Much.  Fun.  

The easiest way to create a whimsical Candyland theme is to add giant candies, of course!  I have seen methods on Pinterest to make giant lollies by using painted paper plates and dowels as sticks...very clever. However, paper is flimsy; I would imagine that over time, these would not hold up unless you are extremely careful when using and/or storing them.  The tutorial I am sharing today is of giant lollipops and peppermint candies that are a little more substantial.  These will definitely hold up over time, and can be used year after year.  These were also very inexpensive to make!


To make your giant candies, you will need:

White duct tape
Red duct tape
Pool noodles (one for each lollipop you want to make)
Large beach balls (one for each lollipop you want to make)
Wooden dowels
Clear cellophane wrapping
Decorative ribbon
Industrial-strength hot glue gun and glue sticks
Cardboard tubing
Flat cardboard
Peppermint-printed wrapping paper
Small-gauge floral wire
Clear packaging tape 


For the Giant Lollies:


If you look at the picture above, you will note that I was initially going to wrap the noodle in ribbon.  It didn’t look good to me; it was very difficult to line up the ribbon just right to emulate candy, so this is the method I used instead.  Begin by completely wrapping your pool noodle in red duct tape.


Next, you will use the white duct tape to create stripes.


Tightly roll the covered pool noodle, gluing it into place with a very strong hot glue.  Using an industrial gun is best.  Gently push a dowel into the lollipop top and glue the wooden dowel into place to represent the lollipop stick.  You can wrap the lolly in cellophane and adorn it with a ribbon on the dowel if you choose.


For giant peppermint balls:


Begin by completely covering your beach ball with white duct tape.  No need to worry about making it perfect, you will be unable to see any flaws once the completed peppermint ball is wrapped in cellophane.


Next, you will use the red duct tape to create the red stripes of the peppermint ball.  Cut away where needed before pressing down, creating a sort of swirled-stripe detail.


Now, you will add the thinner stipes of the peppermint ball.  I should mention here that I tried to create both the larger and smaller stirpes by drawing them on with a sharpie.  It was a complete smudgy mess, and took entirely too long to dry.  Using the duct tape worked out much better.  You could also likely use paint, but again, you may have issues like I did, needing to paint only a minimum of one side at a time, allowing time to dry (with the hope it won’t roll onto itself...blah, blah blah).  Much more time consuming. This method was much, much simpler.  Cut thin strips of duct tape and stick them down, following along the larger stripes.


Wrap the candy ball in cellophane, and adorn with decorative ribbon.


For Giant Peppermint Sticks:


Begin with a cardboard tube, and cut it to size of the desired candy stick.  If you are making more than one, measure to ensure symmetry.


Draw a template onto the flat cardboard for each side of the peppermint sticks.  Draw two for each peppermint stick, for as many as you intend to make.


Glue the templates to each side of your peppermint, closing the tube.  Again, it is best to use an industrial strength glue gun so it will hold. 


Next, you will cover the sides of each peppermint stick.  Cut a round of wrapping paper (can you call mine a "round," lol?) a little bit larger than the sides of the tube.  Fold the paper up and glue down until you have a seamless-looking peppermint "cap."  Repeat on the opposite side.  Glue down and create a handle for hanging using floral wire.


Measure the perimeter of the tube to calculate how much wrapping paper you will need to cover completely.


Finally, wrap the entire tube in the wrapping paper, and glue into place.   Be sure to leave room for your handle to be exposed.  The best way to do this is to line the wrapping paper right up with the handle and tape the seam down there.  You will again wrap all of your pretties in clear cellophane and add ribbon.  You can also use the clear tape to tape the cellophane in place for a more permanent closure.


Here is a look at the completed candies decorating the front door.  


I also used some peppermint sticks to decorate my outdoor lanterns.


If you would like to see these featured in my home Christmas Candyland home décor, you may visit the post on my blog Parsimonious Décor Darling here.


If you like this post, you may share it by pinning here:


These were super easy and inexpensive!  Every item on the list except for the wooden dowels, glue gun with sticks, cardboard elements, and clear packaging tape came from the 99¢ Store!!  Super cool!


Wishing everyone a happy and safe holiday season!


If you enjoy this post, please visit the archives!  You may also visit my full profile to view my other blogs. Connect with me on my Facebook Page, Parsimonious Perfection.   You might like to visit my other blog hubs,

The Marvelous Maison, a lifestyle blog hub and 
Frugal Fab Fashionista, my fashion blog hub. 

Follow me on Pinterest!!

Thank you for stopping by! ❤


Friday, October 30, 2020

Simple Halloween Garland


Hello there!!  I hope all is well for you and yours out there in the bloggersphere and beyond!!  All of my Halloween decorating was completed a few weeks ago, however, today I thought I would share a last-minute tutorial of the super simple garland I made this year.


This is really a variation of the same method I used to make my Fall Harvest Runner years ago.  You may view that tutorial in the archives here


To create this garland, you will need:


Crafting mesh 

Faux white pumpkins (or in my case, faux pumpkins that have been spray painted white)

Spooky elements like spiders, bats, skulls, et cetera

Ribbon

Faux black flowers and/or foliage

Paper clips

Hot glue gun and glue sticks

Scissors


I began by layering my ribbon over the mesh.


Try to make sure it is centered.


Flip over and glue into place sporadically down the length of the mesh, approximately every two inches or so.


In the exact middle of the garland (or where it will center over my doors) is where I placed the most detail.  It is also where I began to add the faux foliage elements.  Place the larger floral stems onto the ribbon,


and use extra ribbon to reinforce.  I love this sparkly, glittery option.  Hot glue to hold together.


Add the larger elements here as well.  Hello, Mr. Spider!!


For the addition of the skulls, I used paper clips.


Cut standard paper clips into thirds, which will make them into small hooks.


Gently push the paper clip portion into your skulls.


Glue into place.


You may now thread the foliage stems through the hanger you have just created and add to your garland, reinforcing with ribbon where needed.


For the addition of the pumpkins, I had to spray paint these little blue pumpkins because all of the white ones were sold out at the 99 Cent Store.  Luckily, I already had some paint on-hand.  I began by removing the tops of the pumpkins and then painting.  Allow for dry time.


To create anchoring hooks for the pumpkins, this time I used medium gauge wire I had leftover from another project.


I simply cut it into sections, folded each section into little loops, and gently pushed it into the tops of my pumpkins.  I then replaced the stems.  You may also opt to add additional hot glue to reinforce if you prefer.


Finally, add your elements down the length of your garland, and hang in place.  Viola!!


More shots of the detail.


If you would like to see this garland featured in my 2020 Halloween House tour, you may view the post on my blog Parsimonious Décor Darling here.


Stay safe, take care, and Happy Halloween!!


Where to buy:

Ribbon, skulls, bats, clip-on spiders, large spider, black roses, and pumpkins, all, The 99 Cent Store

Crafting mesh, The Dollar Tree

Black dahlias and faux berry sprays,  Hobby Lobby


If you enjoy this post, please visit the archives!  You may also visit my full profile to view my other blogs. Connect with me on my Facebook Page, Parsimonious Perfection.   You might like to visit my other blog hubs,

The Marvelous Maison, a lifestyle blog hub and 
Frugal Fab Fashionista, my fashion blog hub. 

Follow me on Pinterest!!

Thank you for stopping by! ❤