
Hello and welcome! Thank you for visiting my blog.
When setting your table for Thanksgiving, there are so many options to consider! I love to set my table with a centerpiece; usually made of fresh vegetables and fruits, like so.


To view these tablescapes, you may visit my other blog Parsimonious Décor Darling by clicking here for the first picture, and here for the second.
However, if you would like to make your own runner which is reusable year after year, you can make your own for less than $20. I hope you enjoy this post.
My supply list:
Three greenery bunches $0.99 each
Two sunflower pots $0.99 each
Two harvest pumpkin packages $0.99 each
1 foam glitter gourd bowl filler package $3.50
1/2 box acorn bowl fillers $1.50
1 autumn leaf bunch $0.99
1 faux English Rose bunch $0.99
4 small pears/apples $0.50 each
Burlap ribbon ($5; I used about a fifth of it) $1.00
Rustic fabric ($12 for the whole bolt at the local thrift. I used about 1/6) $2.00
Embroidery thread or hemp thread
Upholstery needle
Hardware loops (the whole box was $0.99 for an assortment) $0.15
Tape measure
Hot glue gun and glue sticks

The first thing I did was measure my table. I wanted my runner to fit right in the middle.

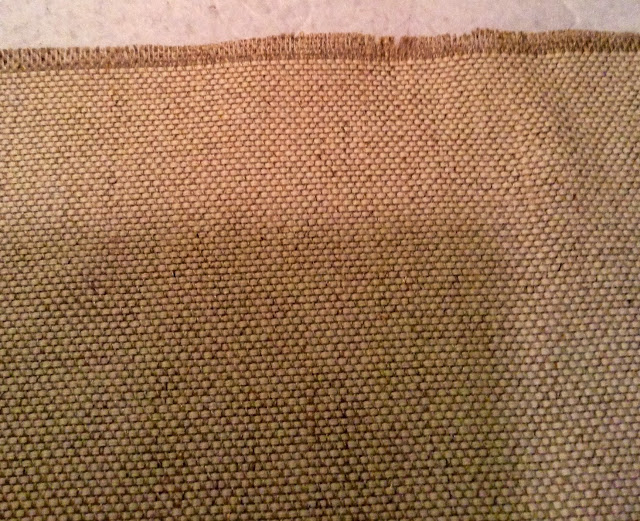
Once I measured how big I wanted the runner to be, I cut the fabric to size, leaving a bit extra.

I wanted the runner to have a rustic feel, so I unravelled approximately four rows of the fabric on two sides.

Here is the result.
The other two sides (the longer sides), I steam pressed to create a seam.

I flipped over the runner, and glued the seams down using hot glue.

Next, measure your burlap. It should be slightly longer than the runner.

Trim.

Set the runner aside. Next, I added hardware to the larger ornaments. For the pinecones, I used the hardware. I simply screwed them into the bottom of the pinecone, and ensured they were closed by pinching with a pair of pliers, then dotting a small amount of glue onto each.

For the foam ornaments, I used my paperclip ornament method. To view the tutorial, visit the post entitled Easy inexpensive DIY ornaments in the archives.
Next, I created a greenery foundation by gluing the foliage onto the burlap ribbon.


Here it is, greenery attached.

Next, I added all of the fall leaf foliage.

Now, piece by piece, I added the larger ornaments and pinecones by sewing a loop through the burlap ribbon,

Into the hook/loop

Back down into the burlap, and tying it underneath.

Trim.

I built slowly using this process until the whole burlap ribbon was covered. The final step was using the same process in varying places to attach the burlap strip directly in the middle of the runner.

Here is the completed runner


Here is a closeup of the detail.

To see how I used my completed runner in my traditional Thanksgiving tablescape, you may view the post on my blog Parsimonious Décor Darling by clicking here.

If you enjoy this post, please visit the archives! You may also visit my full profile to view my other blogs. Connect with me on my Facebook Page, Parsimonious Décor Darling. You might like to visit my other blog hubs,
The Marvelous Maison, a lifestyle blog hub and
Frugal Fab Fashionista, my fashion blog hub.
Follow me on Pinterest!! Please be sure to kindly follow the board guidelines, as it takes time and effort to find fabulous pins across the Internet and Pinterest! Thank you!
Thank you for stopping by! ❤
No comments:
Post a Comment