
This year, I wanted to decorate my front doors with something other than a traditional wreath. A door swag is a great alternative. These cost under ten dollars each to make, and can be used year after year!
For two door swags You will need:
8 holiday assorted sprays
2 golden bells
2 ornament packages (I chose traditional red and gold)
1 roll of wired red ribbon
1 roll of tartan ribbon
1 roll of neutral colored ribbon or burlap ribbon (I used gold)
1 roll of this ribbon
Crafting scissors or cutting tool
Glue gun and glue sticks

First, use your crafting tool to remove the foliage from its stems; set aside. 
I began making the swag by first measuring my front door to see how long I wanted the swag to be. Once I decided, I cut a piece of the golden ribbon to size. Fold in half. The folded ribbon should represent the length you want your swag to be. 
Directly at the fold, tie down your tartan ribbon, leaving several inches of ribbon on either side. 
With the several inches, tie over and over into a few bow loops. Trim. 
Tie your red ribbon into a bow with several loops as well. Trim. 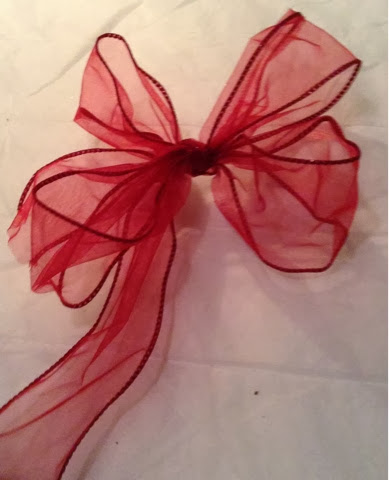
Once tied, thread your red ribbon through the bottom loop of your tartan ribbon. 

Tie altogether. 
Next, thread the ornament hanger portion of your bell through one of the ribbon loops.

Divide the assorted ornaments evenly in half. Thread ornaments together using your thin ribbon.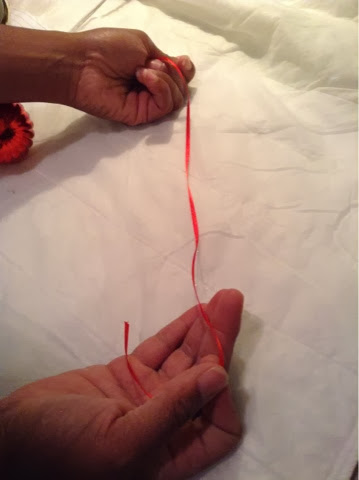

Glue into place.
Trim, but leave one side longer.
Thread the longer side into the top hole of one of the bells on the bell ornament. 
Tie down and trim. Dot small amounts of glue on each layer to adhere them together (ribbon, bell, ornament).


Finally, add greenery one piece at a time on both of the ribbon strips.

I chose not to cover the entire ribbon all the way down, and instead scrunched it up a bit. All done!!


If you would like to see these featured in my Christmas Décor, please visit the post in my other blog Parsimonious Décor Darling by clicking here.
If you enjoy this post, please visit the archives! You may also visit my full profile to view my other blogs. Connect with me on my Facebook Page, Parsimonious Décor Darling. You might like to visit my other blog hubs,
The Marvelous Maison, a lifestyle blog hub and
Frugal Fab Fashionista, my fashion blog hub.
Follow me on Pinterest!! Please be sure to kindly follow the board guidelines, as it takes time and effort to find fabulous pins across the Internet and Pinterest! Thank you!
Thank you for stopping by! ❤
No comments:
Post a Comment